
Following my painful success fixing a TMNT PCB, I decided to move on and try another.
I bought an untested (tm) Shinobi PCB from ebay as I like the game.


I bought an untested (tm) Shinobi PCB from ebay as I like the game.

The PCB was in a dusty state, but was complete.

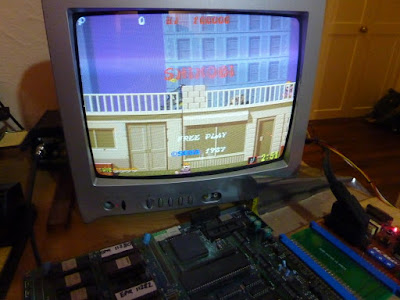
Of course, the board didn't really work. Although I was pleased to see it booted and did something!
The most noticeable problems:
1/ The graphics either had jailbars or were completely missing
2/ There was no sound.

The game was actually playable under all those jailbars.

The first thing I did was to remove Sega's FD1094 processor and replace it with a stock Motorola 68000. I reprogrammed the relevant EPROMs. There are also some reports that these boardsets exhibit unpredictable behaviour, including the sound failing, when the battery is on the way out. This didn't fix any of the issues, but gave me the comfort in knowing the board wouldn't die in the future when the ageing processor battery expired.
Graphics
The test mode showed one of the RAMs was bad.

This is the RAM shown below.

I bought a spare from China, and socketed it. Desoldering went a little smoother than the TMNT desoldering marathon, but I still had to snip the legs of the old chip and spend maybe an hour or two on the chip. The end result was pretty clean, so at least my desoldering is improving. I can't say this is a particularly enjoyable part of the hobby for me.

Unfortunately, this didn't fix the bulk of the issues.
On a positive, the RAM test now passed, and the graphical problems seemed marginally better with less random garbage on-screen. The jailbars remained though.

At this point, I could tell that it was just the tile graphics that had problems. The sprites seemed fine. I did some highly technical 'pressing on EPROMS' and noticed I could reduce the width of the jailbars with some pressure.
I removed the tile EPROMs and checked them in my reader. One of them was full of junk data and didn't match the expected CRC.

I programmed a new EPROM and the graphics were restored and the game looked perfect.

Unfortunately, after running the game for about 30 minutes the sprites also developed a problem with lines running through them.
In hindsight, maybe this problem was intermittent as the sprites were also screwed in my original screenshot of the game.

I used my System 16 Sprite Viewer to determine where the garbled graphics were located. Once again, I found a faulty EPROM and reprogrammed it.

Graphically everything is working again! Phew!
Sound
- I verified the 3 sound EPROMs were good. After all the previous EPROM failures, they were the first thing I suspected.
- I checked the Z80 isn't in a HALT / RESET state. It seemed to be running.
- I could hear hum from the amp when the pot is turned up. Tapping the logic probe on the outputs of the YM3012 causes audio interference.The amplification part of the circuit is working. However, data wasn't being fed into this chip correctly. So something was going wrong upstream.
- I tried piggybacking the SRAM used by the sound processor. This didn't change anything.
Using a logic probe, I spotted some bad activity at the YM2151 sound chip The following pins were suspect:
21 Serial Output
Stuck Low [Connected to DATA on YM3012, should be doing something]
20 Sample & Hold 1
Stuck High [Connected to SAM1 on YM3012, should be doing something]
19 Sample & Hold 2
Stuck High [Connected to SAM2 on YM3012, should be doing something]
There was sensible looking activity on the data and A0 pins. Downstream, the YM3012 wasn't doing anything sensible. The analog and channel outs were floating.
I didn't know which of the two components was faulty, so I ordered both. The output from the YM2151 was clearly borked whereas the inputs seemed sensible. I wasn't entirely sure whether a damaged YM3012 could also be causing this.
I socketed and replaced the YM3012 first, mainly because it had fewer pins to desolder!
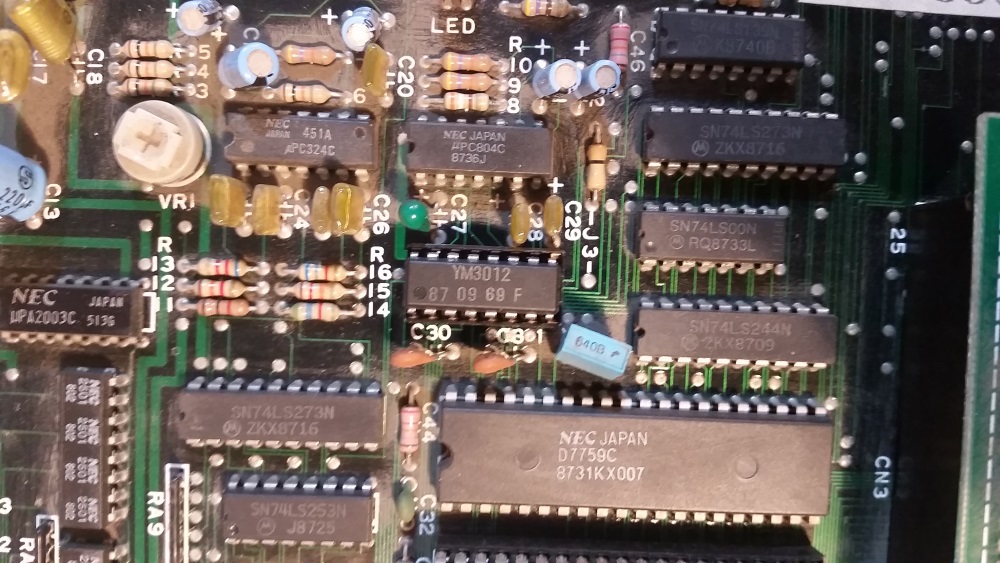
This didn't fix the problem, so I socketed and replaced the YM2151.

This fully restored the audio.
In summary, I replaced:
Desuicide
1 x 68K Processor
2 x EPROMs
Fix Graphics Problems
2 x EPROMs
1 x SRAM
Fix Sound
1 x YM2151
1 x YM3012 (Unnecessary)


